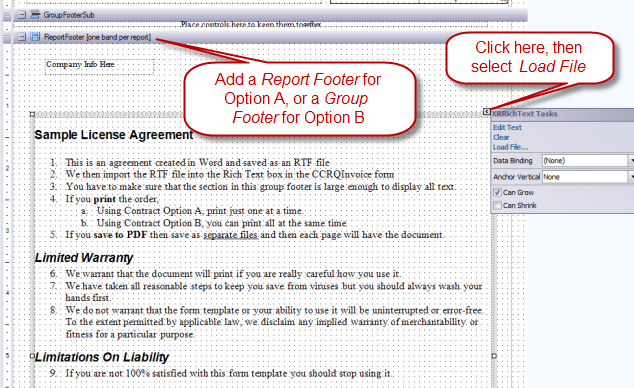
QuickBooks has a page oriented form editor that you use to create your “templates” for invoices, sales orders and estimates. This approach places some limits on how you can design your form. This article talks about how you can use CCRQInvoice to add a contract page to the end of your order form.
A page oriented form editor lets you design the layout of the entire page. It is an easy to use method, you can see exactly what the form will look like. However, every page you print will have that same layout. There are two significant drawbacks to this in QuickBooks forms:
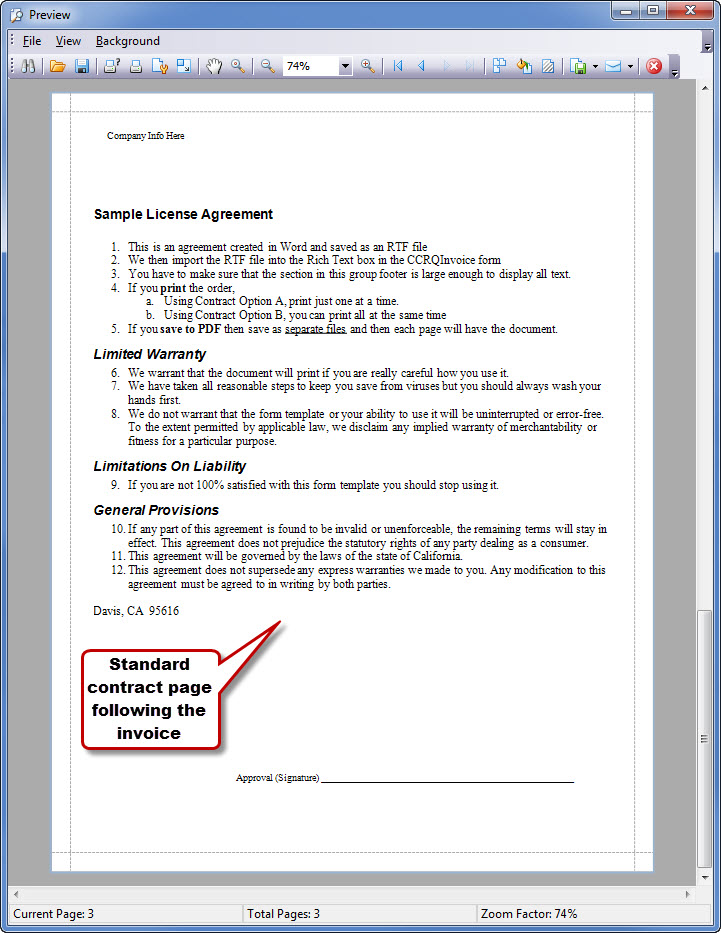
- You cannot add a contract page to the end of the form. A disclaimer, terms of service or a contract, which you would like to have appended to the end of each order. If you try this with QuickBooks you can only have this information print on every page, and this takes up room from your order detail lines.
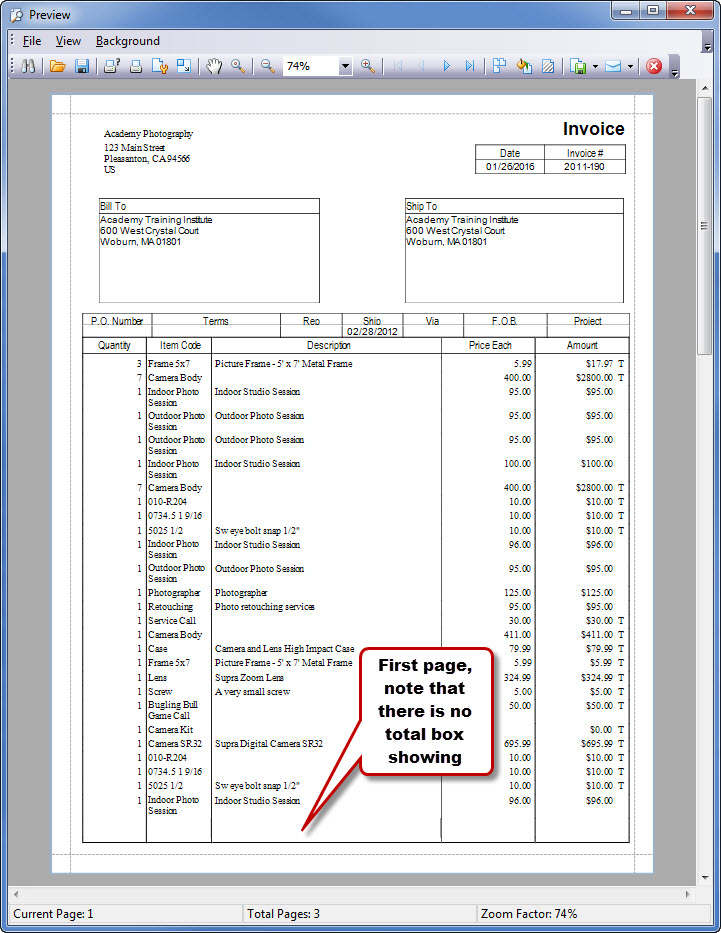
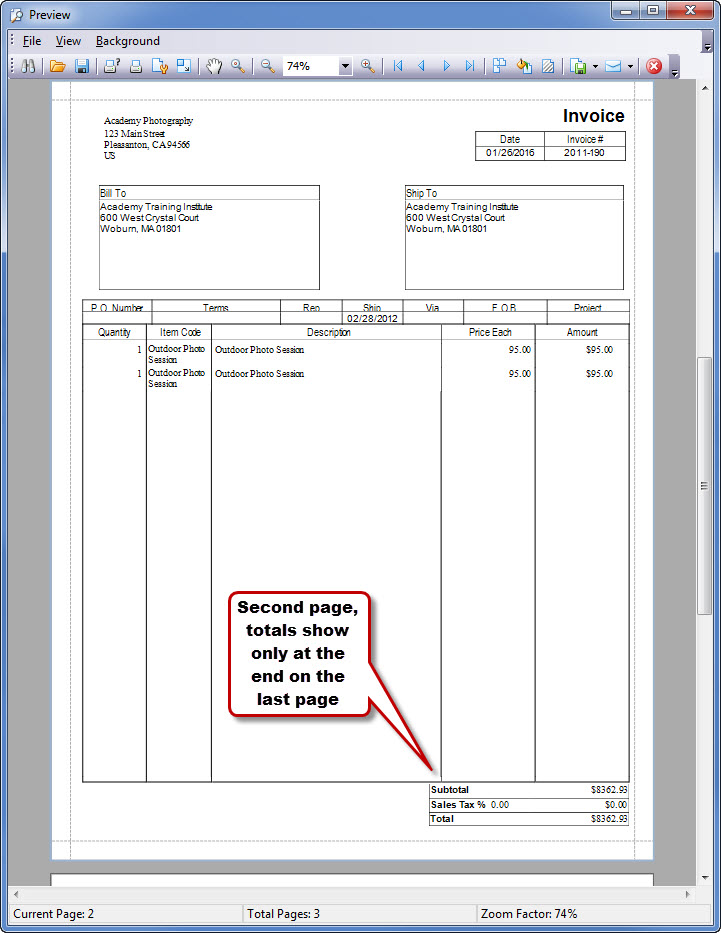
- You cannot have a total section that only prints on the last page of a multiple page invoice. With QuickBooks the footer of each page will show the labels and boxes you set up for the totals, even though a value only shows on the last page.
CCRQInvoice can be used to print invoices, sales orders or estimates (which I collectively refer to as “orders” here) from your QuickBooks company file. It includes a more complicated form editor that is report oriented rather than page oriented. This includes the ability to format your form templates so that totals only print on the last page of a multiple page order, and to add contract pages to the end of the order. The drawback is – the CCRQInvoice form designer is more complicated to use than the simple page oriented form designer in QuickBooks.
As a side note – if you don’t want to take the time to learn how to use the CCRQInvoice form designer we can create a modified template for you for a very reasonable fee.
Sample Forms using CCRQInvoice
I have created four sample forms to use with CCRQInvoice to illustrate how to add contract pages (note that they also print totals only on the last page). Download the Contract Forms, which are in a zip file. Unzip them to any folder on your computer (your Desktop or My Documents folders are easy to use). Run CCRQInvoice, select the Forms menu, and the Edit Order Forms option. Select the Import button, locate the forms (they have a file type of repx) and they will be imported to your form library.
There are four samples:
- Contract Option A: This lets you prepare a full page contract, or any other text, that will print at the end of the order. The good points – you get a full page of text. The drawbacks – you can’t add any information (such as the order number) to that page, and you need to print them one at a time (not in a batch).
- Contract Option A (2 page): A variation of the prior option that has more than one page of added text – a bit trickier to set up.
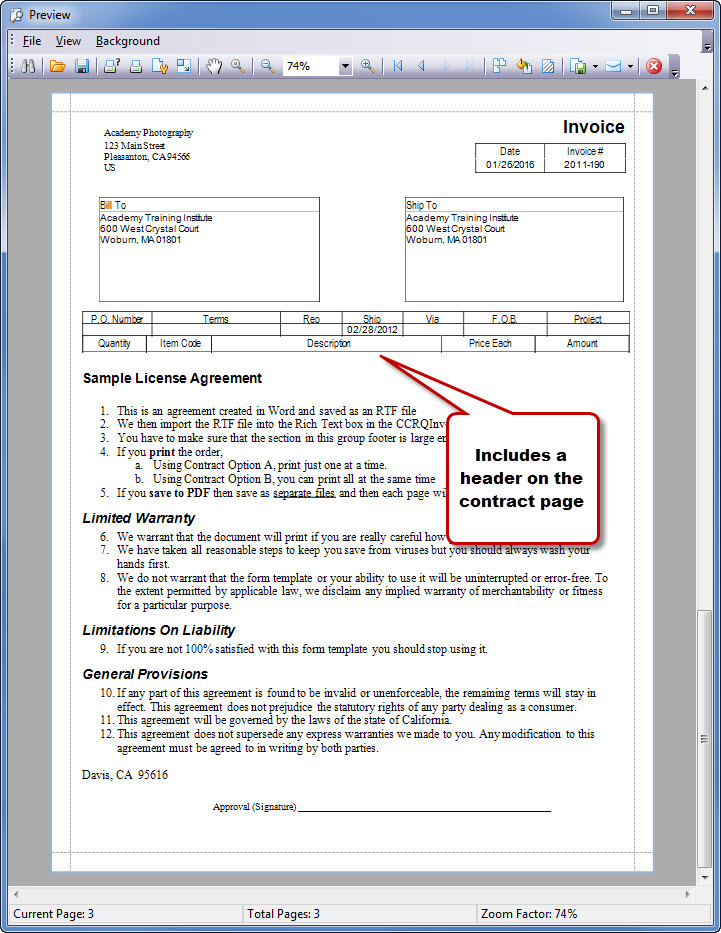
- Contract Option B: Comparing this to Option A – the form header repeats on each page, so you have information such as the order number, date and so forth. You also can use this to print a batch of orders at one time. The disadvantage here is that you don’t get a full page of text.
- Contract Option B (2 page): Same as Option B but with multiple pages of text.
Let’s take a look at a sample invoice. This invoice has two pages of detail items, followed by a contract form. Note that you can create the contract form as an “RTF” file with Microsoft Word and import it to the order template.
Note that you can click on any image to see a larger version.
Here are the three pages using Option A:
Now let’s look at the third page if you used Option B. This allows you to have some invoice (order) information on the page, but you have less control over appearance and less room.
Setting up these forms can be a bit complex – it is easier to take our sample and modify it to your needs. Better yet, let us create a form for you! Entering and editing the contract text is simple, however.
