CCRQBOM was not designed for file exports, but you can export a BOM to Excel with a little work. This article discusses how to export ALL of your BOM’s from QuickBooks for a “one-time” export, such as when you want to get your data OUT of QuickBooks and import it to ANOTHER inventory system.
Note that this requires a special version of CCRQBOM (4.0.0), which is available for $150.00. This release is ONLY supported for a one-time export. If you want this version, use our contact form to make a request.
Exporting BOM’s with CCRQBOM 4.0.0
If you purchase this product you will be given a link to download an installer. See our installation summary (PDF) document for general information about installing the software. Note that there are some differences from what you see in the PDF, particularly for the registration information. We will provide you with information, and a serial number, once you purchase the program.
Next, download BOMBOM Export Multiple Assys.repx.zip. This is a “zip” file, unzip it and save it to your computer system in a location you can easily find (such as your desktop).
Run CCRQBOM and select Forms and then Bill of Material.

In the Edit Reports window that opens, click the Import button.

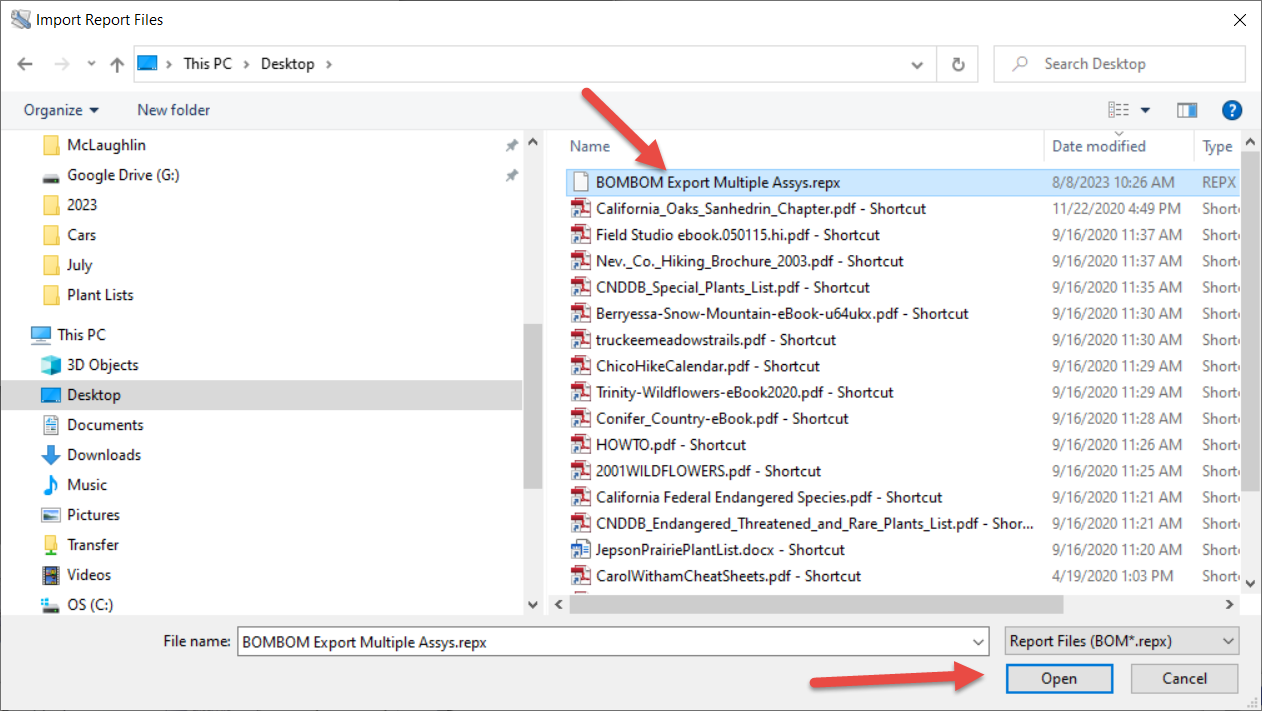
This will open a File Open dialog window. Use this to locate the downloaded “repx” file you saved earlier, select it, then click the Open button.
You will now see “BOM Export Multiple Assys” on the report list. Note that you won’t see all of the reports I shown in this example (this is from my test system).
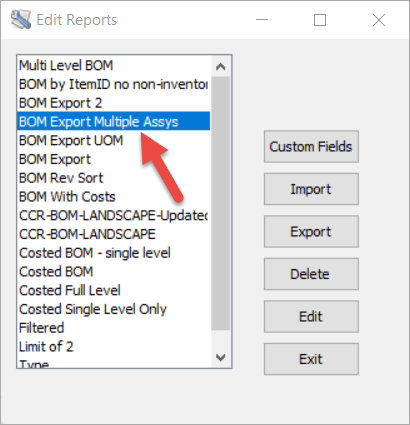
Click Exit to close this window.
Next:
-
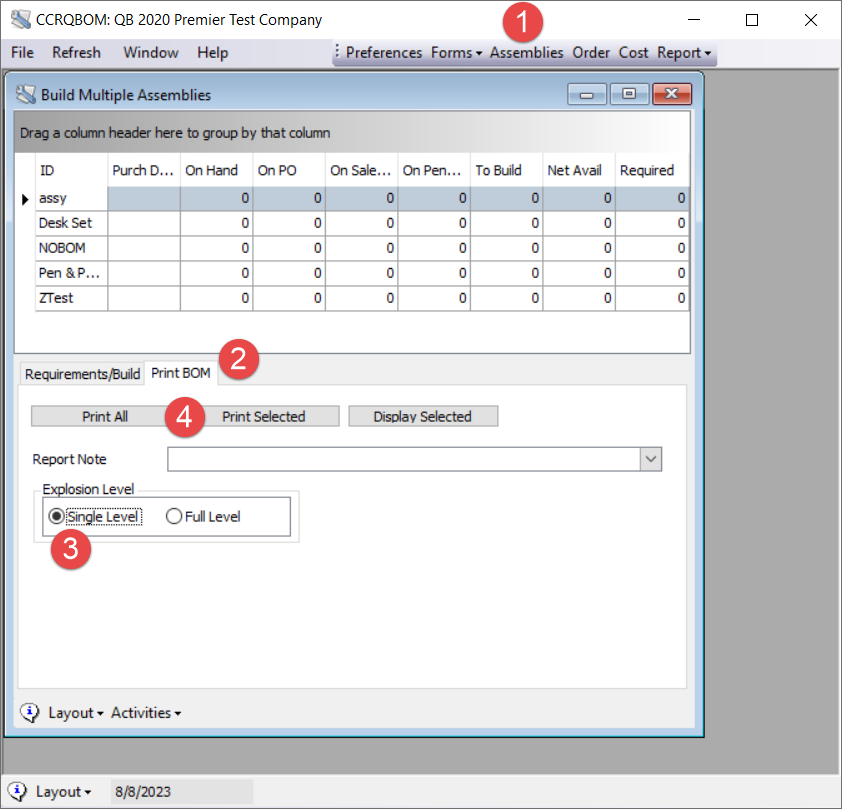
- Click the Assemblies menu selection
- Select the Print BOM tab
- Select the Single Level option (this is VERY important)
- Click Print All, unless you want to test this, in which case you can click on one assembly and click Print Selected
A Print Reports dialog opens. In the report list, select “BOM Export Multiple Assys”. This is a stripped down report that removes a lot of unnecessary information (footers, page numbers, lines). Then select Print Preview and click the Print button. The other options will NOT do what you want.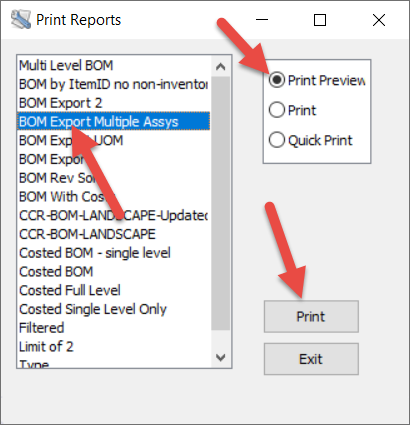
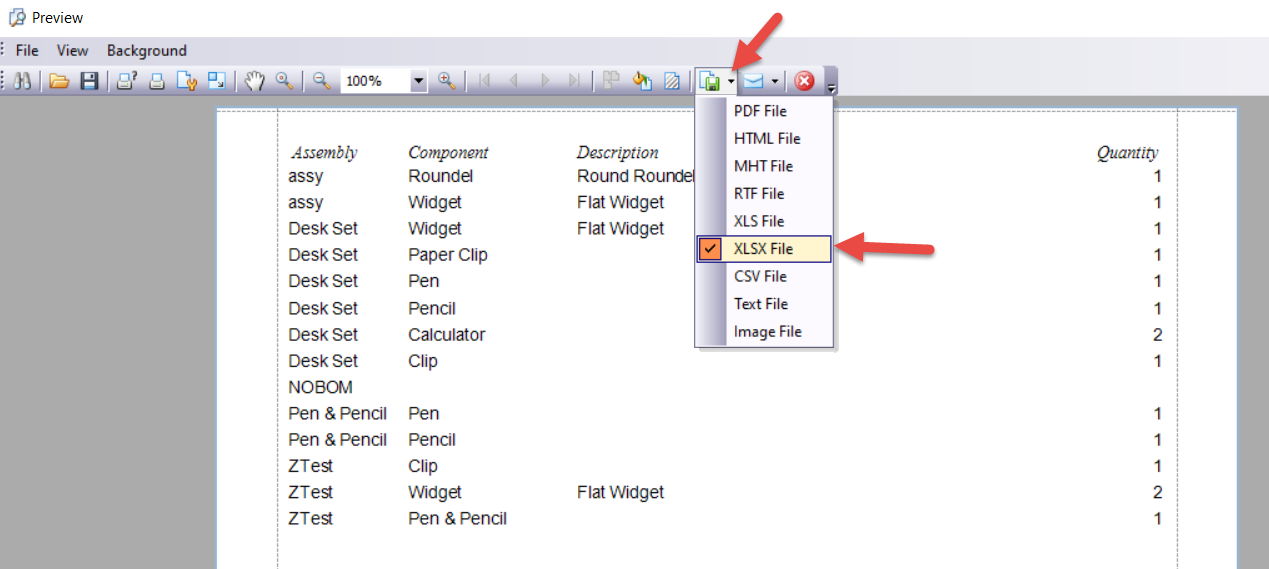
In the Preview window you will see the simplified export report, as shown here. Click the down arrow next to the green floppy disk icon to get the export dropdown menu. You can select “XLSX File”, or if you wish “XLS File” or “CSV File”, to export the report.
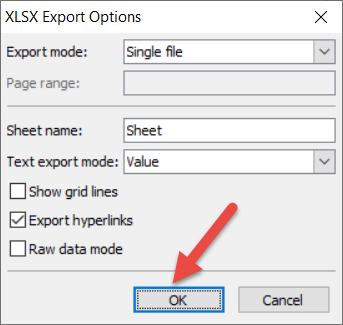
In the Export Options dialog (the appearance may vary depending on the options you chose) just click the OK button.
You will be asked for a location to save the exported file. You may also have an option to open the file immediately, if you have an appropriate version of Microsoft Excel installed.
Modifying Export
There are other fields in the BOM in addition to what this export includes. Note that some fields you may see in QuickBooks (particularly in the Enterprise version) may not be available to our product. You can modify the template to add other fields, but note that this is somewhat tricky and time consuming. You have to learn how to use our form editor. Information is in the program documentation. Feel free to ask for tips, and we can tell you if the field you want can be exported.